Posts

Run Multiple Commands in Linux

Image
In this tutorial, How to Run Multiple Commands in Linux at Once. You will executing multiple Linux commands at one. On Linux, there are three ways to run multiple commands in terminal. 1. Using Logical OR (ll) operator The syntax command A || command B if command A runs successfully, command B won't execute. Command B will only execute if command A fails Example: sudo find /tmp -name devopsroles.com || touch huuphan.com The output terminal as below 2. Using the AND (&&) Operator The syntax command A && command B Command A runs successfully, If command B not error. Example: mkdir /tmp/devopsroles && cd /tmp The output terminal as below 3. Using the Semicolon(;) Operator The syntax command A ; command B Command A and command B run executed sequentially  The output terminal as below
How to check CPU in Linux

Image
In today's tutorial, we'll guide you on checking your CPU in a Linux system. Follow these steps: Open the terminal on your Linux system. Type 'lscpu' and press enter to access detailed CPU information. For a quick overview, you can use 'cat /proc/cpuinfo'. If you want real-time CPU usage data, try the 'top' command. Learn about your CPU's architecture, cores, and clock speed. This knowledge helps optimize system performance. Understanding your CPU is key for effective troubleshooting. Armed with this information, you can make informed decisions for a smoother Linux experience. Happy exploring!" Check CPU in Linux  Retrieve CPU details using the 'cat' command. $ cat /proc/cpuinfo View CPU architecture information using the 'lscpu' command. $ lscpu The terminal output is as follows: use cpuid command show x86 CPU $ cpuid display Linux hardware information $ sudo dmidecode processor type Inxi tool command to display Linux system in

Display Date and Time for each Command in Bash History

Image
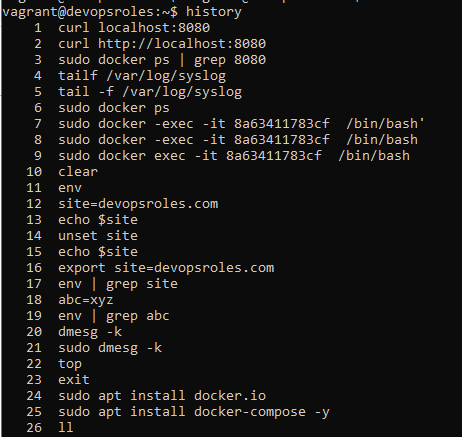
 In this tutorial, How to list command display date and time command previously typed in Bash History. The Bash shell provides the command history. Display Date and Time for each Command in Bash History. The default history command $ history The output terminal as below Set time stamps in bash history Define the environment variable name $ HISTTIMEFORMAT="%d/%m/%y %T " The output as below   Or your add ~/.bash_profile file $ echo 'export HISTTIMEFORMAT="%d/%m/%y %T "' >> ~/.bash_profile $ cd $ source ~/.bash_profile The output terminal as below   To retrieve Linux bash command line history $ history  The output terminal as below  

Setup a Raspberry Pi Static IP Address

 In this tutorial, I use Raspbian operating system. How to setup a Raspberry Pi Static IP Address. Recommended Raspberry Pi Micro SD Card Power Supply Ethernet Cord or WiFi dongle (The Pi 3 and 4 has WiFi inbuilt) Step 1: we will first need to retrieve some information about your network ip r | grep default Step 2 : Retrieve the current DNS server and opening up the “resolv.conf” configuration file sudo nano /etc/resolv.conf Setting nameserver alternative DNS – such as 8.8.8.8 for Google, or 1.1.1.1 for Cloudflare. Step 3: modify the way the Raspberry Pi handles the network. sudo nano /etc/dhcpcd.conf Add lines as below: interface <NETWORK> static ip_address=<STATICIP>/24 static routers=<ROUTERIP> static domain_name_servers=<DNSIP> • NETWORK – your network connection type: eth0 (Ethernet) or wlan0 (wireless). • STATIC_IP – the static IP address you want to set for the Raspberry Pi. • ROUTER_IP – the gateway IP address for your router on the local network. • D

Fixed Wordpress plugin install Could not create directory

Image
 In this tutorial, How to Fixed wordpress plugin install could not create directory. I'm using Nginx, PHP 7.4 and WordPress on Ubuntu 21.04.  After install and configure wordpress completed. I have update plugin and could not create directory. I installed into a wordpress directory in /var/www . Nginx does not have permissions to write to the wp-content directory. Wordpress plugin SEO Error Installing Plugin: SEO 17.0 Downloading install package from https://downloads.wordpress.org/plugin/seo.17.0.zip… Unpacking the package… Could not create directory. How to do it Fixed Step 1: Getting the connection information Create new file whoami.php into /var/www/huuphan.com/ directory. For example, the content as below root@localhost:~# cat /var/www/huuphan.com/whoami.php <?php echo(exec("whoami")); ?> root@localhost:~# Curl url or type domain in browser as below  root@localhost:~# curl https://huuphan.com/whoami.php huupv root@localhost:~# Step 2: Change owner of the word